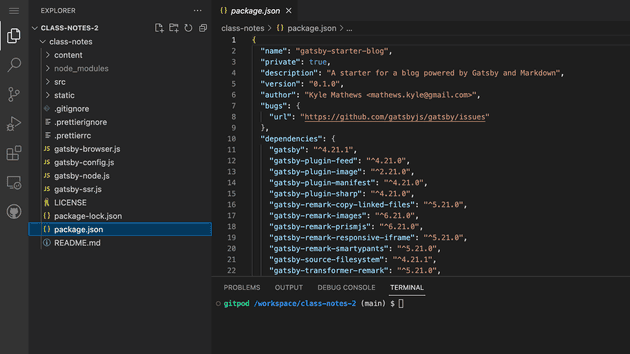
Last Week
Last week we:
- created a github account
- created a gitpod account
- generated a gatsby blog template with the command
npx gatsby ...
Remember, github is for hosting your code. Gitpod is for editing your code. After you edit your code on gitpod you need to push the changes to github in order to save them.
Today
- sign back in to gitpod
- push our changes to github
- run our site
- edit it. see class 3 part 2
Let’s go
Sign In to Gitpod
If you’re not signed in to github already then you’ll get a pop up. Sign in to github.
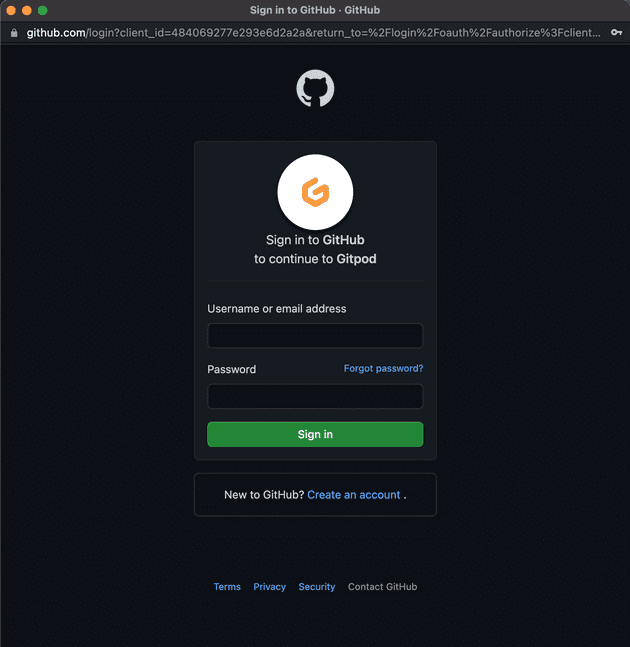
(If you can’t remember you password reset it in the popup).
Navigate to your gitpod workspace
After login gitpod should have taken you here https://gitpod.io/workspaces. If not, navigate there directly.
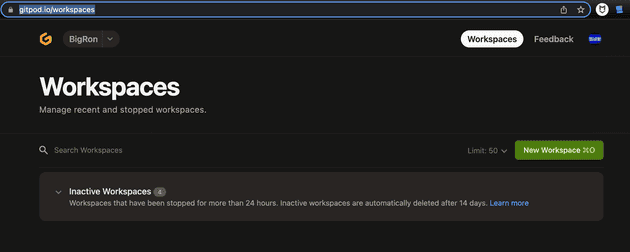
Click on “Inactive Workspaces”.
You should have one inactive workspace called something like “Class-Notes”. This is the workspace we created last week.
You’ll notice in the 4th column it will say you have 28 changes. These are the changes that were auto-generated by the npx gatsby new class-notes https://github.com/gatsbyjs/gatsby-starter-blog command last week.

IMPORTANT: Normally we would not leave
changesin our gitpod. Gitpod deletes workspaces automatically, any changes left in your workspace will also get deleted. Normally you wouldpushyour changes from gitpod to github every day, but last week we ran out of time.
So to fix this bad practice we are going to push our current changes, right now.
Push your current changes from gitpod to github
First we need to open last week’s workspace.
Click the kebob (yea that’s what it’s called) on the far-right side of your workspace & then click Open.
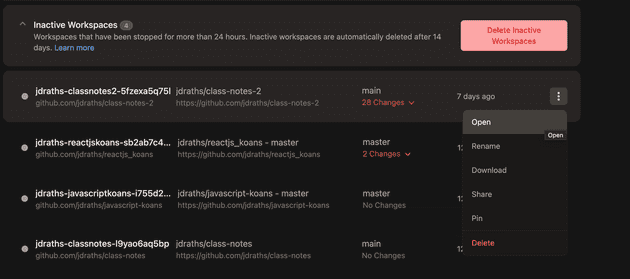
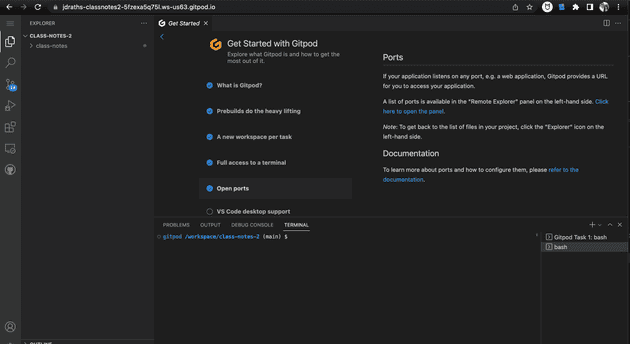
Once your workspace (it might take a minute) is loaded you should see this:
btw, sometimes my workspace loads incorrectly & looks jumbled. refresh your browser window to fix that
Ok, we need to push our 28 staged changes. In the left-nav of your workspace you’ll see an icon showing you there are 28 changes.
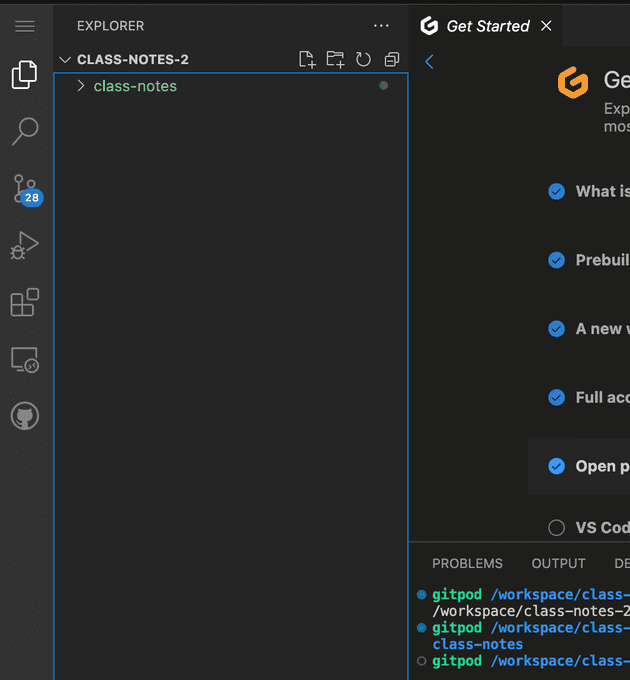
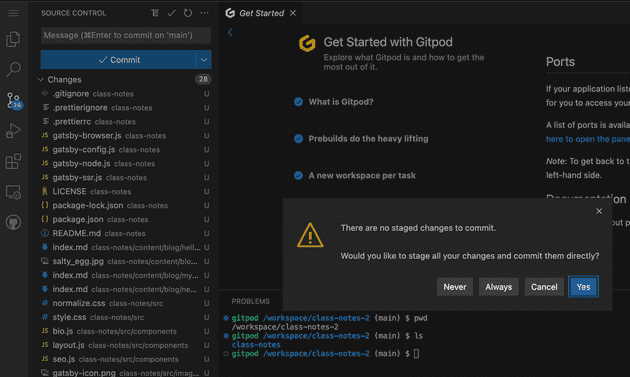
click that ^^^ icon & you’ll see this:
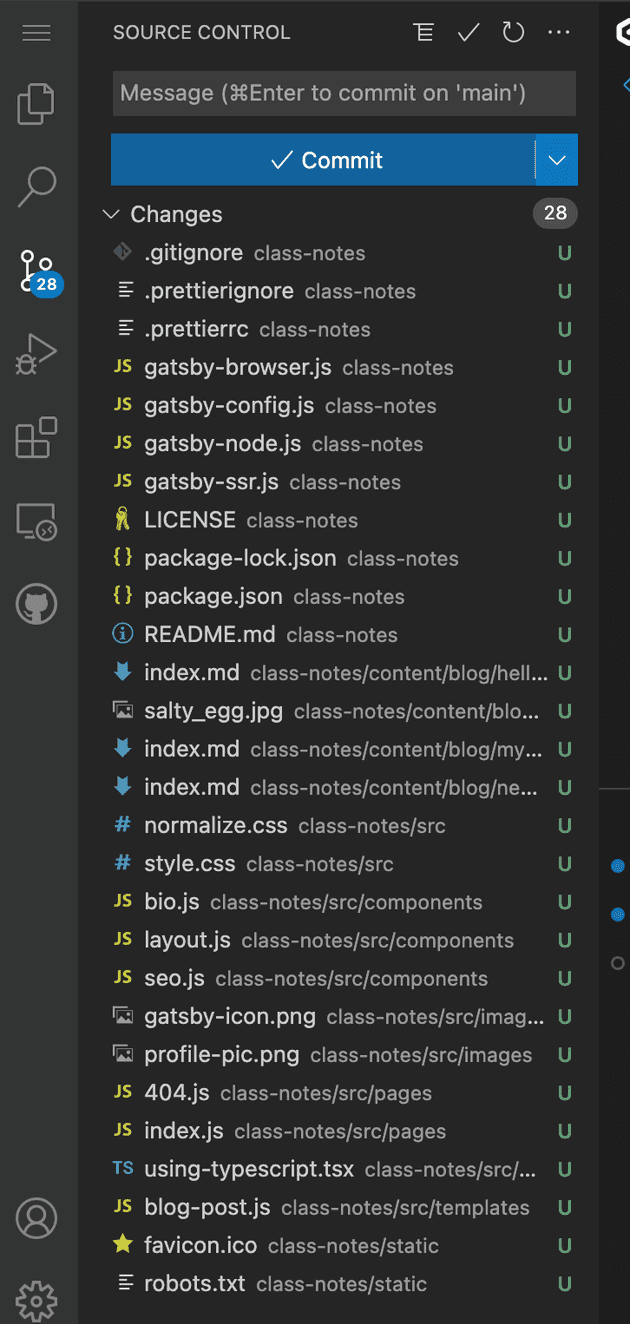
This section of your left-nav is called Source Control. We’ll learn more about it later, but some things are already obvious:
Source Controltracks your changes that have not yet beencommited
There is a ton of nuance in what that means. We’ll learn that nuance later.
For now, let’s commit those staged changes.
Click the down-caret to the right of Commit & then click Commit and create pull request
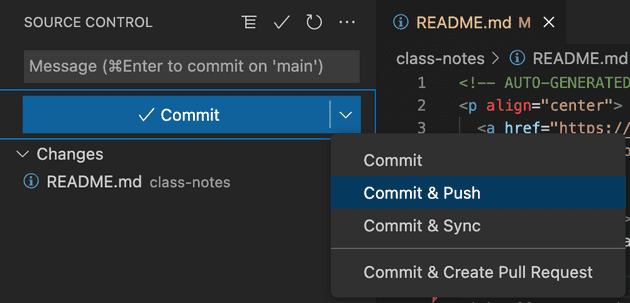
For now, just click yes. We’ll explain later.
An editor window will pop-up. This is where you’ll enter a commit message
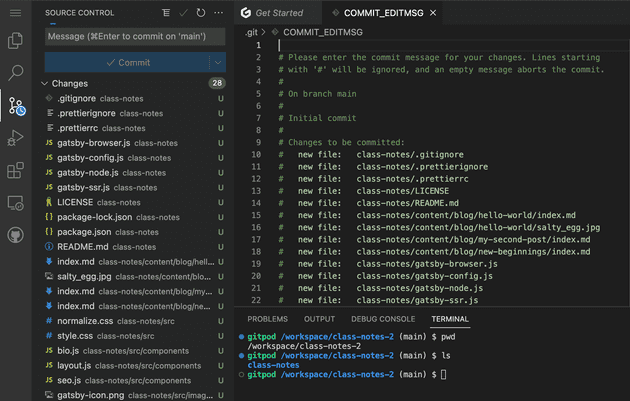
It’s important to enter a descriptive commit message. Your future self will thank you.
So enter your commit message (leave all the green text):

Then close that editor window (click the little x):

I have a feeling I forgot something about permissions here… But I recorded permission issues here
Go check out your github profile
it’s something like: https://github.com/jdraths
omg we have code on github…
omg our github profile shows some green boxes!
Ok, let’s run our blog locally
open package.json & let’s start learning.
First, you’ll need to click on the File Explorer tab (top-left) in the left nav. Then click on the package.json file in the file explorer:

Scroll down to line 42 & look at scripts:
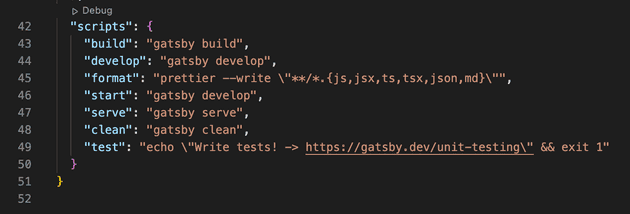
- (this is typical for react apps) - You’ll learn more about this later
- for all the objects in
scriptsyou can runnpm run [whatever]…
so rn, let’s run npm run start (see line 46). We can guess that this will run our blog locally.
To run npm run start navigate to your terminal (it’s in the bottom of your gitpod):
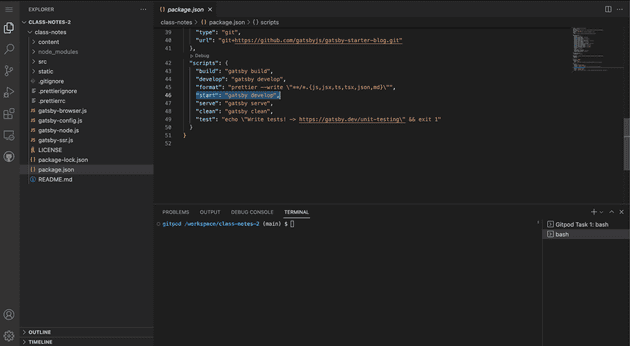
then press enter. Oh shoot, forgot something again:

our folder structure is a little unusual (which we’ll fix later). We need to navigate into our blog… which is called class-notes. So type cd class-notes. then press enter.

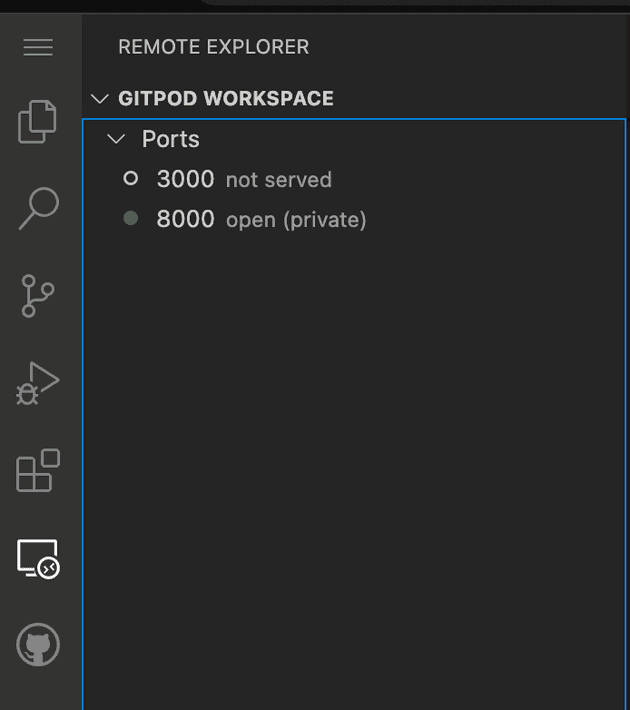
now navigate to the Remote Explorer to view your running app:
